TL;DR
This post will go through the steps needed to implement an automated software pipeline for Python packages. On every tagged commit pushed to Github, Travis CI will automatically build this project and push it to packagecloud.
Add a .travis.yml file to your python project
If you’d like to follow along, take a look at our python-test-packages github repository.
We’ll start with our full .travis.yml file, shown here:
.travis.yml
sudo: false
language: C
services:
- docker
cache:
  directories:
  - "$HOME/.cache"
script:
- sudo apt-get install -y zlib1g-dev p7zip-rar p7zip-full unace unrar zip unzip sharutils rar uudeview mpack arj cabextract file-roller
- pip install wheel
- sh build.sh
deploy:
  provider: packagecloud
  username: capotej
  repository: python-test-packages
  token: "${PACKAGECLOUD_TOKEN}"
  dist: "python"
  package_glob: "dist/*.{whl,zip,egg,egg-info,tar,bz2,Z,gz}"
  skip_cleanup: true
  on:
    tags: true
notifications:
  email:
    recipients:
    - julio@packagecloud.io
    on_success: change
    on_failure: always
The two relevant parts of this file are the script and deploy sections which tell Travis CI how to build our project and where to deploy it, respectively.
The script section
Instead of scripting our entire build process in yaml, here we just install the system packages we need, then execute a build.sh script (shown below).
The deploy section
First, we tell Travis CI to use the packagecloud provider, along with our username, repository, and token (more on this later).
Then, we use the package_glob entry to tell the packagecloud provider which package types to upload and where to find them.
Lastly, we set on: tags: true, which tells Travis CI to only run the deploy scripts when a tagged commit is pushed, otherwise just run the build and skip deploy.
For detailed documentation on the deploy section, refer to the deployment and packagecloud sections of the Travis CI docs.
The build script
Because we use this project for testing purposes, this example build script generates every possible python package type, in every possible archive format. However, feel free to use the python packaging type and archive format that makes the most sense for your project.
Our build script, build.sh:
build.sh
#!/bin/sh

set -e

git clean -fXd --exclude .vagrant

python setup.py bdist_wheel --universal
python setup.py bdist_egg
python setup.py sdist --formats=bztar,zip,gztar,tar
Create your packagecloud repository
If you haven’t already, login or use the button below to create a free packagecloud.io account to create your repository.
Configure Travis CI
Now that our repository has the proper files, we’re ready to configure our project on Travis CI.
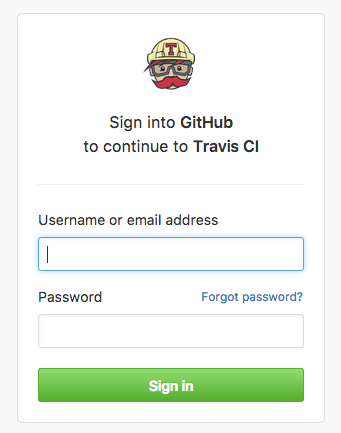
Sign in to Travis CI with your Github Account
This will give Travis CI access to list all of your Github repositories.
Enable the repository
Under your Travis account settings, find your python project repository and enable it.
Create PACKAGECLOUD_TOKEN environment variable
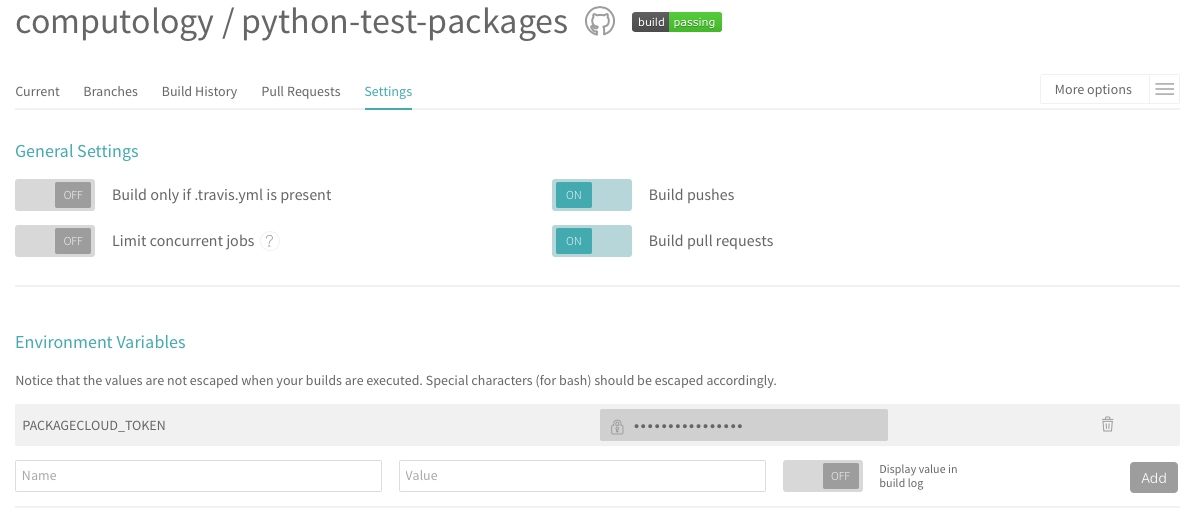
Visit the packagecloud.io API Token page to get your packagecloud API Token. Then visit your Travis CI project settings page and add that API token as an environment variable. Make sure that display value in build log is set to OFF, or else everyone will be able to see your token!
Set version and push
First, we edit and commit our desired version in the version= inside of setup.py, for example 1.4.1.
Then, we create that version as a git tag:
git tag -a 1.4.1 -m '1.4.1'We push all of our changes to Github (origin):
git push origin masterThis will start a build on Travis CI, but it will not deploy.
In order to actually deploy, we have to push up our version git tag to Github (origin):
git push origin --tagsThis should start another build on Travis CI, which will start the deploy to packagecloud once it finishes.
Bonus: Python Versioneer
Since having to edit and commit the version in setup.py every time you release can get annoying, there exists a project which can read the versioning information directly from the project’s git repository. It’s called python-versioneer and might be worth looking into if you plan on releasing a bunch of versions.
Done!
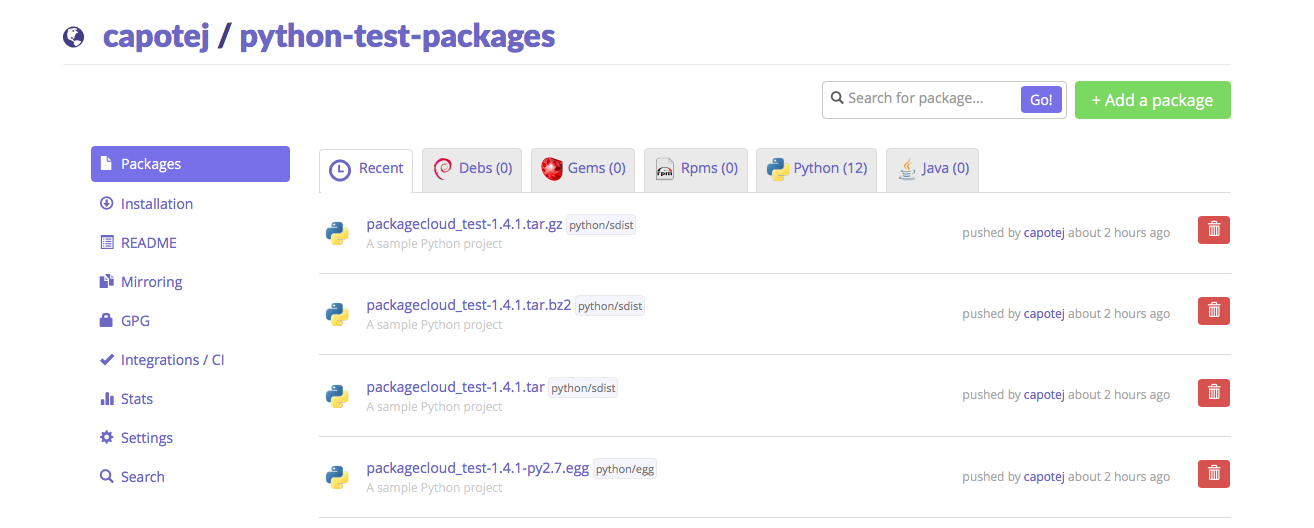
If everything went according to plan, you should now see some python packages in your packagecloud repository!
Conclusion
Many development shops cite ‘slow turnaround time’ as a reason to avoid properly building out an internal web of cleanly separated, interdependent libraries. Using packagecloud and Travis CI to automate your python release process can dramatically speed up your software development cycles and reduce the amount bad or broken releases.


