We know Packagecloud is the undisputed software package manager leader if you are using Linux, but how does Packagecloud handle an Apple device? Turns out Packagecloud on Macs work like a charm.
For reference, I am on a 2021 M1 Mac 64 GB device. Fast speed is a given with these devices. And we maintained that speed even as things started getting processed at Packagecloud's end. Of course, the platform uses CDN for delivery.
These are the tasks I did:
- Installing the packagecloud CLI.
- Finding Help.
- Creating a repository
- Uploading a package to the repo
- Deleting a package
- Uploading a GPG key for package signing
- Listing GPG keys
- Moving packages between repos
The procedure is the same whether we are using Apple or Intel Macs.
Let's get started then.
Installing the Packagecloud CLI on Mac machines
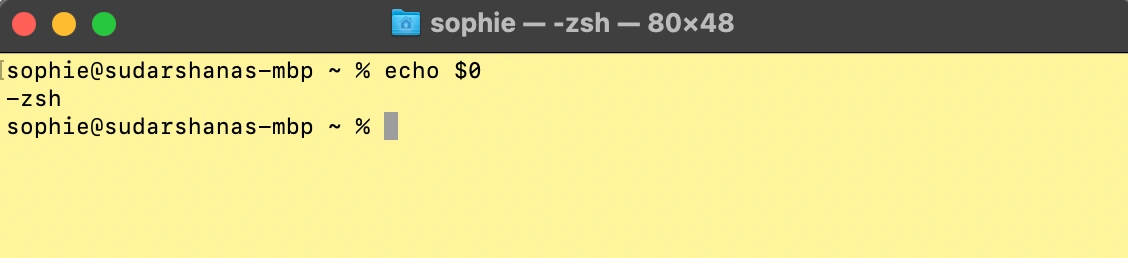
A bit of housekeeping first. Apple has started using zsh as the default shell. We want our terminal to run Bash.
To do this, type bash and press Enter.
If you are not sure which shell you are running echo $0 will pull it right up.
I installed the Packagecloud CLI using RubyGems. Here are the docs on how to install Packgecloud CLI.
The actual script is super-simple:
sudo gem install package_cloud
This installs the Packagecloud CLI in your machine.
Make sure you are using sudo, else you will get a write permissions message
Finding Help
It is always fun to see what commands are supported. Let's do that:
package_cloud help

Creating a repo
Is that not what we are here for! Let's call the repo my_repo.
The command for that is:
package_cloud repository create my_repo
And before you finish saying my_repo out loud, Packagecloud has your repo ready for you.

I had previously logged in to Packagecloud, so the platform already has my credentials. If this is your first time using Packagecloud on the Mac, you will be prompted to enter your email ID and password. Use the email ID and password associated with your Packagecloud account. If you do not have a Packagecloud account, you can sign up for a free trial here.
Once you have entered your credentials, Packagecloud will let you know that the platform has got your token. It will also create a config file in your user directory. Each time a command is run, Packagecloud will check for this config file.
I created a repo called sophie_April_test:
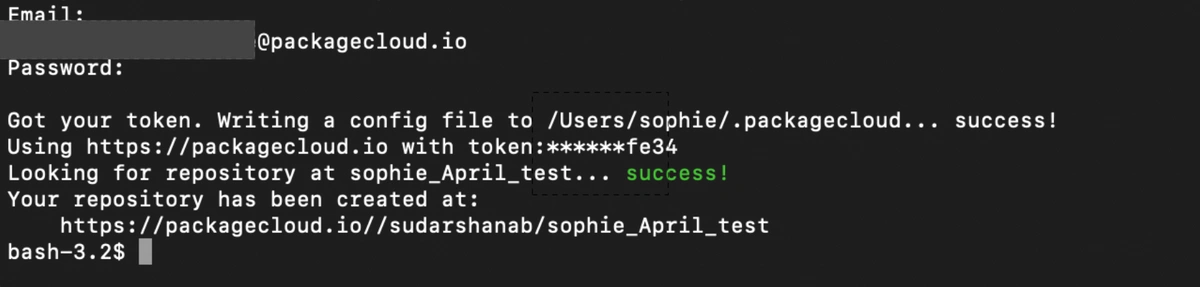
Oh yes, I have messed up the camel case. Thank you for noticing!
It may make sense for you to use a naming convention for your software repos or stick to the naming convention and versioning style used by your organization.
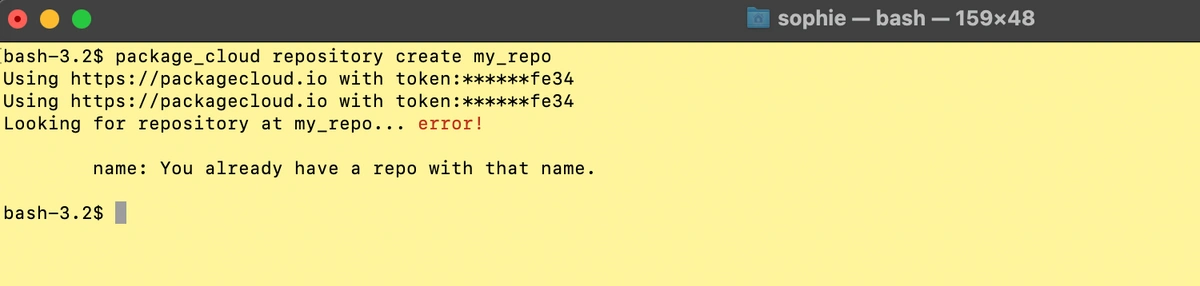
What happens if you try to create a repo that is already there? Packagecloud will not overwrite your existing repo, but will show an error and alert you that a repo by that name already exists.
Uploading a package to the repo
What are the package types currently supported by Packagecloud?
- RPM packages
- NPM packages
- DEB packages
- Debian source packages (DSCs)
- Java packages (Clojure, SBT, "fatjar")
- Python packages (wheels, eggs, source distributions)
- RubyGems
- Node.js packages
- Alpine
- Helm charts
- Generic files, e.g., .asc (e.g., signature files), .zip, etc.
Let's upload a gem. It is the simplest to create, and unlike all other package types, RubyGems do not require any additional specification on upload.
If like me, you do not have a software package merely basking on your Desktop, fear not. Packagecloud has test packages available for us to play with.
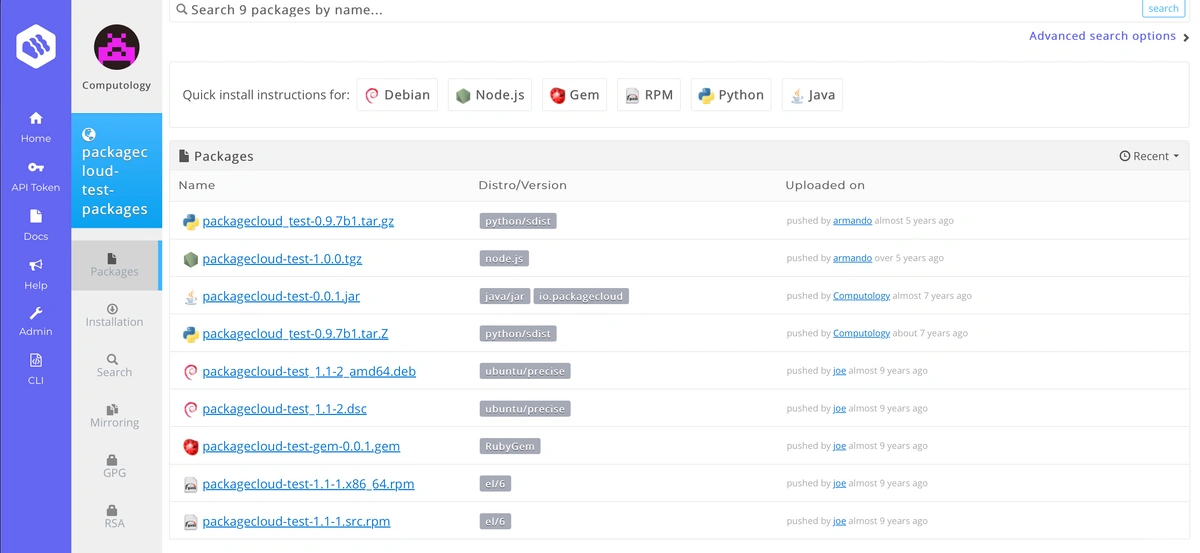
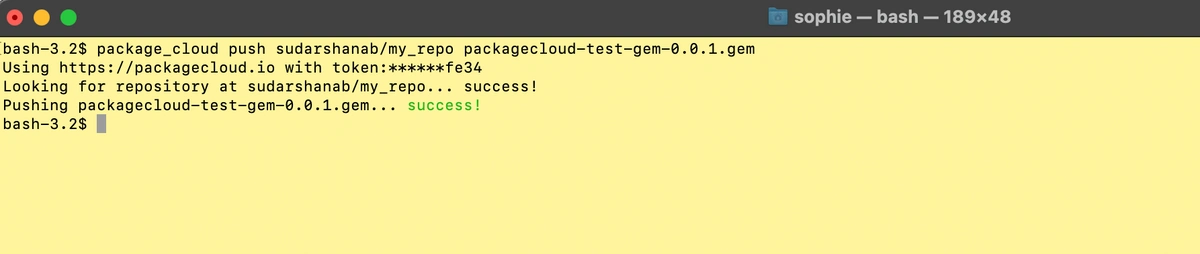
The upload is also a one-line script, which goes something like this:
package_cloud push user_name/repo_name package name
This is what my Terminal looks like right now.
Deleting a package
That was fun. And super-duper fast. Let's now delete the package.
package_cloud yank user_name/repo_name file.name
For me the code looked something like this: package_cloud yank sudarshanab/my_repo pakcagecloud-test-gem-0.0.1.gem

Upload a GPG key for package signing
Packagecloud uses GPG keys to verify the authenticity of packages uploaded to the platform. This is a great security measure that gives you the confidence to download software packages from Packagecloud without worrying about malicious actors injecting harmful code in your software packages.
What is a GPG key? A GPG key, or GNU Privacy Guard key, is a cryptographic key pair used for encrypting and signing data. When you upload a package to Packagecloud, you can sign it with your GPG key. This will allow users to verify that the package was uploaded by you and has not been tampered with.
If you create a repo using Packagecloud's Bash script, Chef cookbook, or Puppet module the GPG key is automatically installed. There is nothing additional you need to do.
For Mac devices, you willl need the GnuPG key management system to generate a key for you to use. GnuPG is a complete and free implementation of the OpenPGP standard as defined by RFC4880 (also known as PGP). If you have Homebrew installed in your machines, you can install GnuPG with a simple brew install: brew install gnupg. You could also download the GNU Privacy Guard from a mirror site close to you. You can find a list of GnuPG mirrors here.
Once you have the key, the command to upload it to Packagecloud is as follows:package_cloud gpg_key create user_name/repo_name ./gpg.key
Listing your GPG keys
You can get a list of GPG keys that are assigned to a particular repo, right from your Terminal. The command to do that is:
package_cloud gpg_key list user_name/repo_name

As you may have noticed, your GPG key is available at the following URL:
https://packagecloud.io/user_name/repo_name/gpgkey
Moving packages between repos
You can use the Terminal to move packages super-fast between different repositories. This is an especially useful ability if you want to promote packages, say from a sandbox environment to testing or to prod.
Once again, the command to do this is super-simple. We include the user name, the repo name, the package name, and then add the user name and the name of the repo where we want to move the package.
package_cloud promote user_name/repo_name/node test-0.1.0.tgz user_name/repo_name_where to promote
After the package is moved, a reindex will be triggered for both the repos.
Note:
- Some packages (RPMs, Debs, Python packages, and JARs) are pushed to a specific distribution and version. When those packages are moved, the distribution/version must be specified and they will be moved to the same distribution/version in the destination repository. Other package types (RubyGems and NPM packages) can be moved without specifying a distribution or version, as these do not apply to RubyGem or NPM packages.
- Both repository owners and collaborators may move packages between repositories.
- This operation is a move, not a copy, thus the source repository will no longer have a copy of the package when the operation has completed. Note that the download statistics for the moved package will be cleared.
(Image courtesy: Apple)
And there you have it. The quick start guide to working with Packagecloud on macOS. As you can see the commands are executed lightning-fast, and are super-simple to boot. All the scripts are merely a single line!